Create Retailer #
Firstly create the retailer.
visit Admin panel->company->create company a/c.
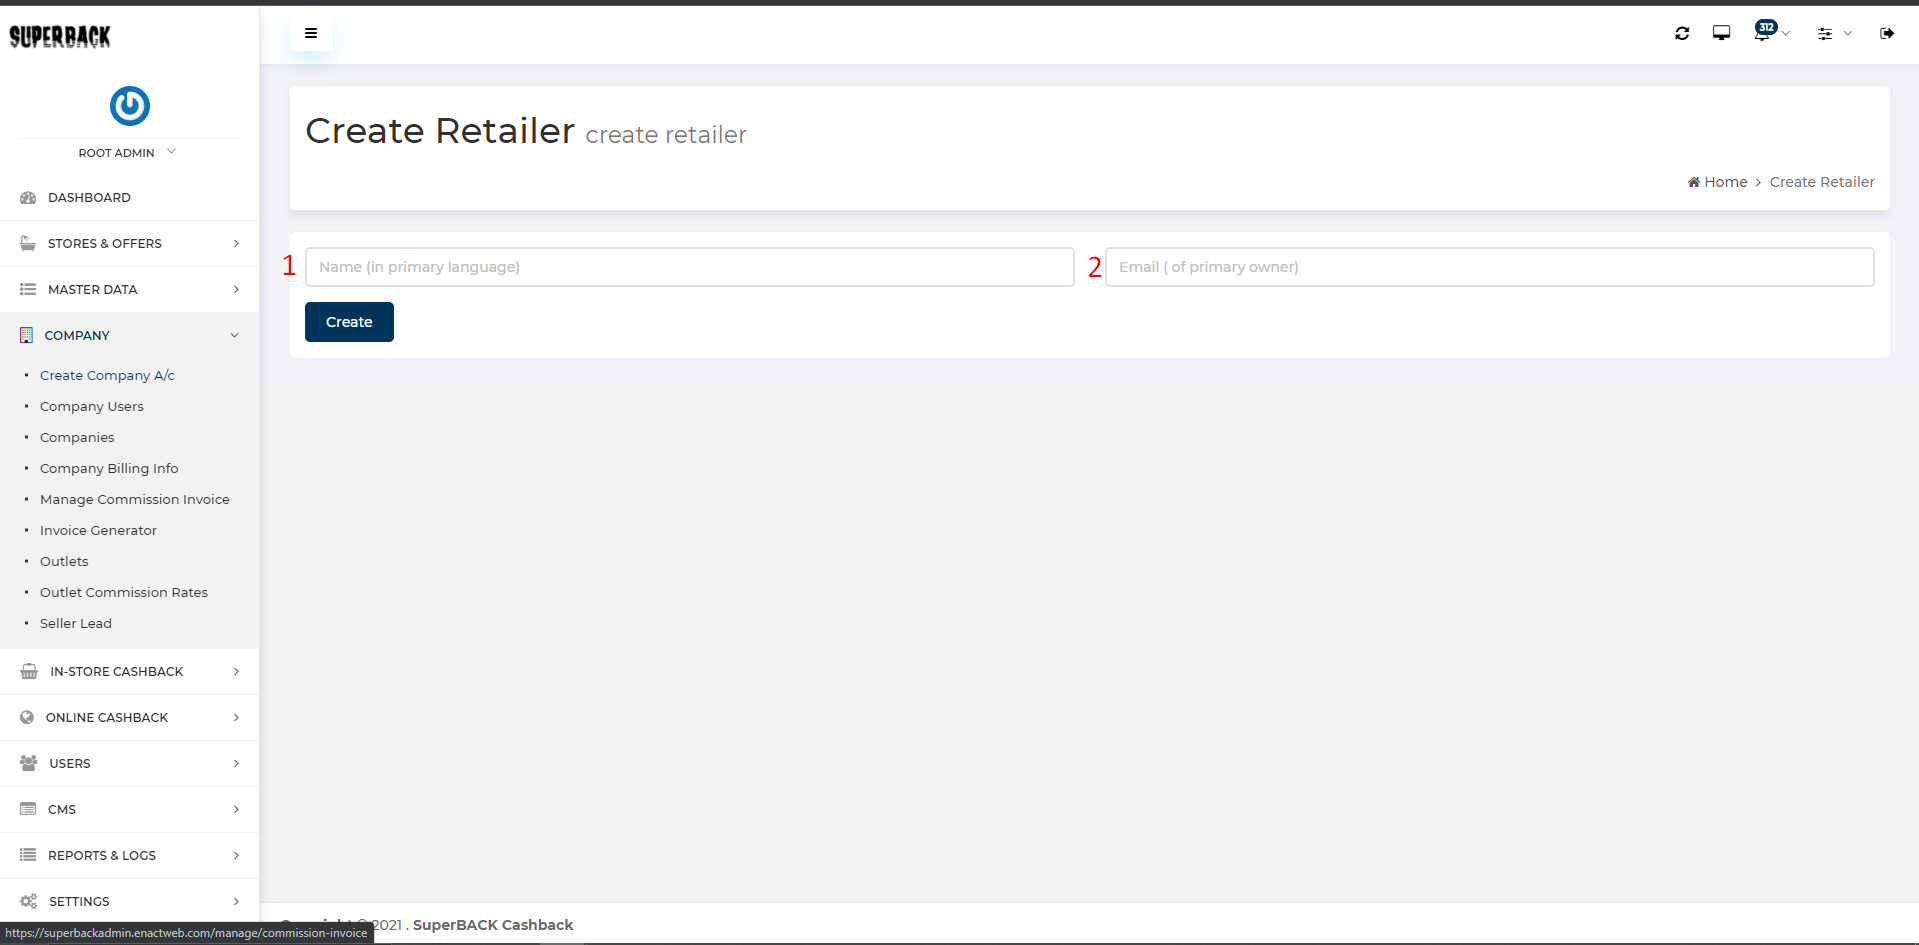
- Enter the Retailer’s name.
- Enter the email address and click on the submit button.
By clicking on submit button it would redirect to the next page as mentioned below

- Enter the name.
- Here slug is available.
- Choose Logo by clicking on the Choose file button
Note:- Logo size should be 360(W)x200(H) PX - Here Categories are selected from the drop-down list.
Now one mail is received on your account (which you enter at the creation time).
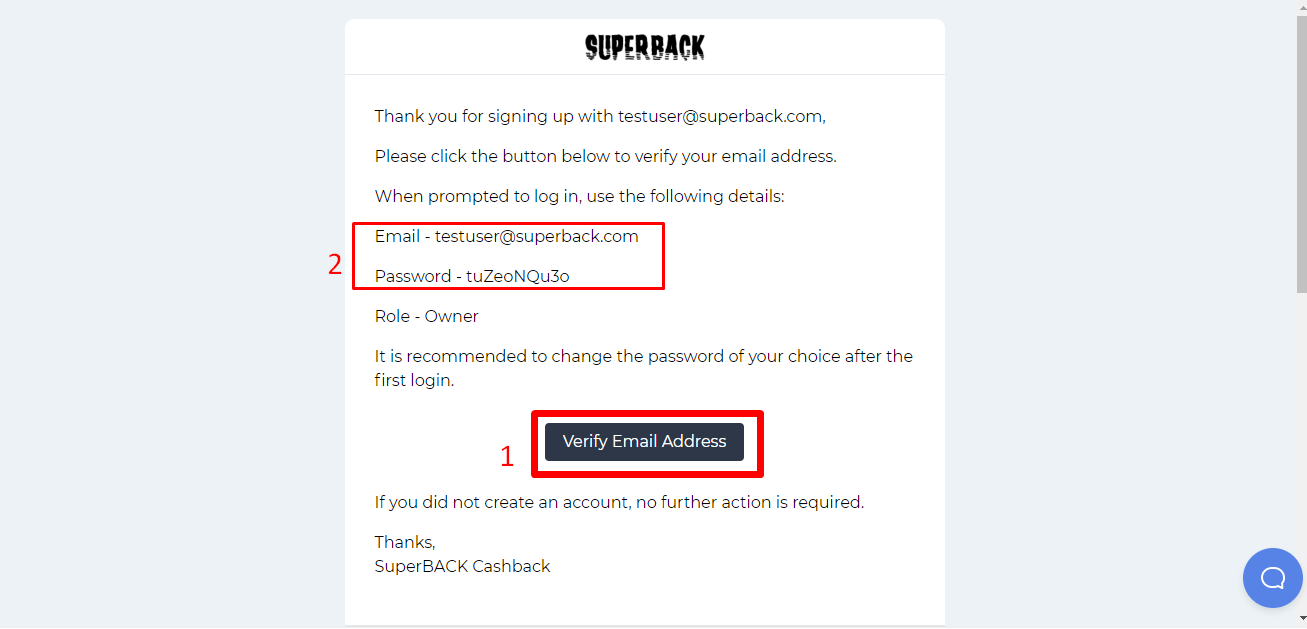
- Go to that URL this screen will appear https://prnt.sc/nUYiiqRg6pOp
- Enter the user name and password.
Now you are Login into the seller panel.
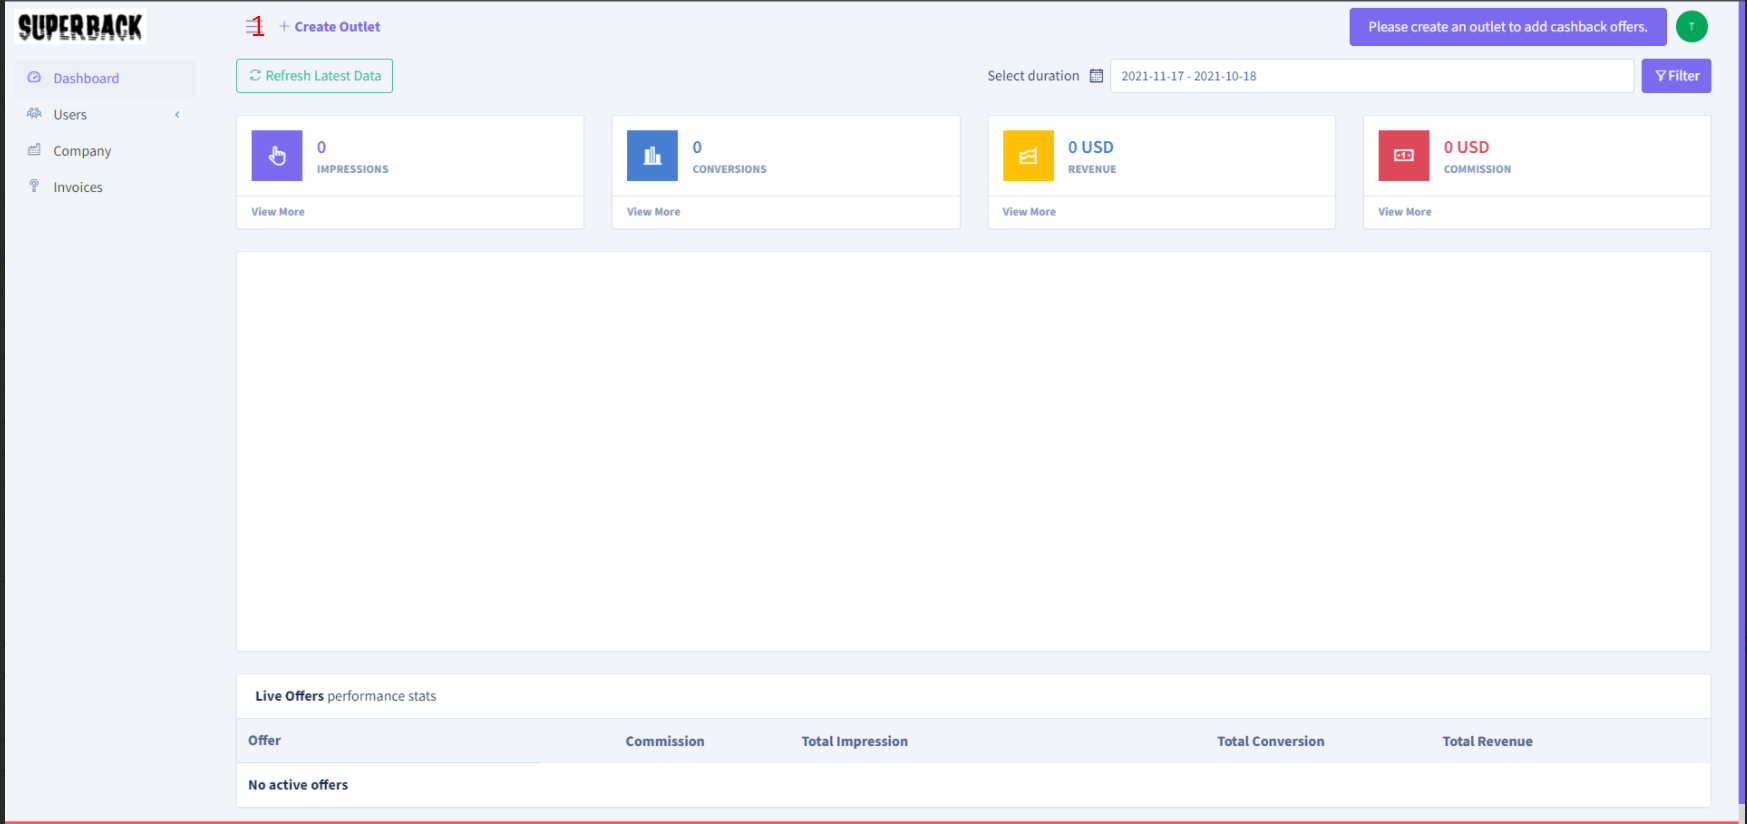
- Click on the “create outlet ” label to create the outlet.
- Fill the form properly and lastly create on submit button now your outlet is created.
Watch the recording here
https://app.usebubbles.com/2sCp4J13FxpqTRzvNsEJzK/in-store-outlet-creation
Now Retailer can send the outlet to review and the admin can examine that outlet and change its status.
- you can go to the outlet preview mode and click on the “send to review” button.
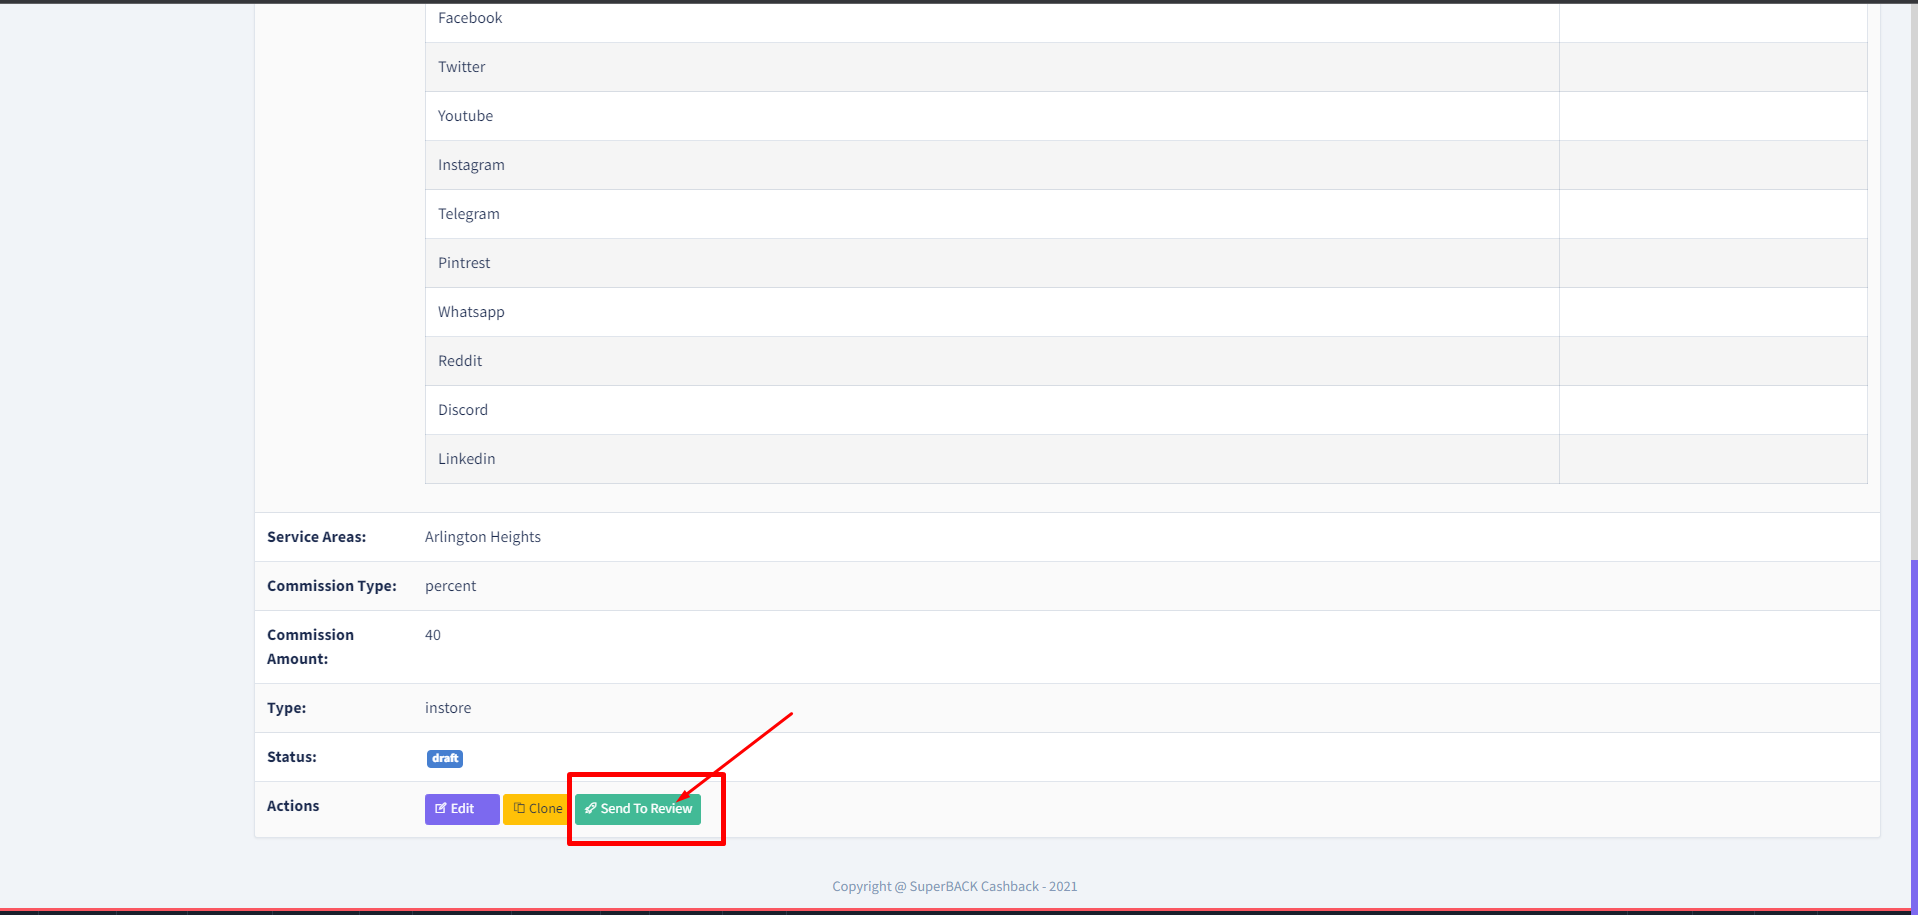
- After that admin will get the notification of that outlet approval request and examine it and change its status.
- When the status is published from the admin side, it will appear in the front end.
- Watch the recording here https://app.usebubbles.com/jfaTbUQYQ7HmYZS3UF8XFi/outlet-approval-request


