Translation to Different Languages or Add New Language #
To Change the language Translation setting visit the Admin Panel-> DEVELOPER SETUP-> Language Master-> Create New.
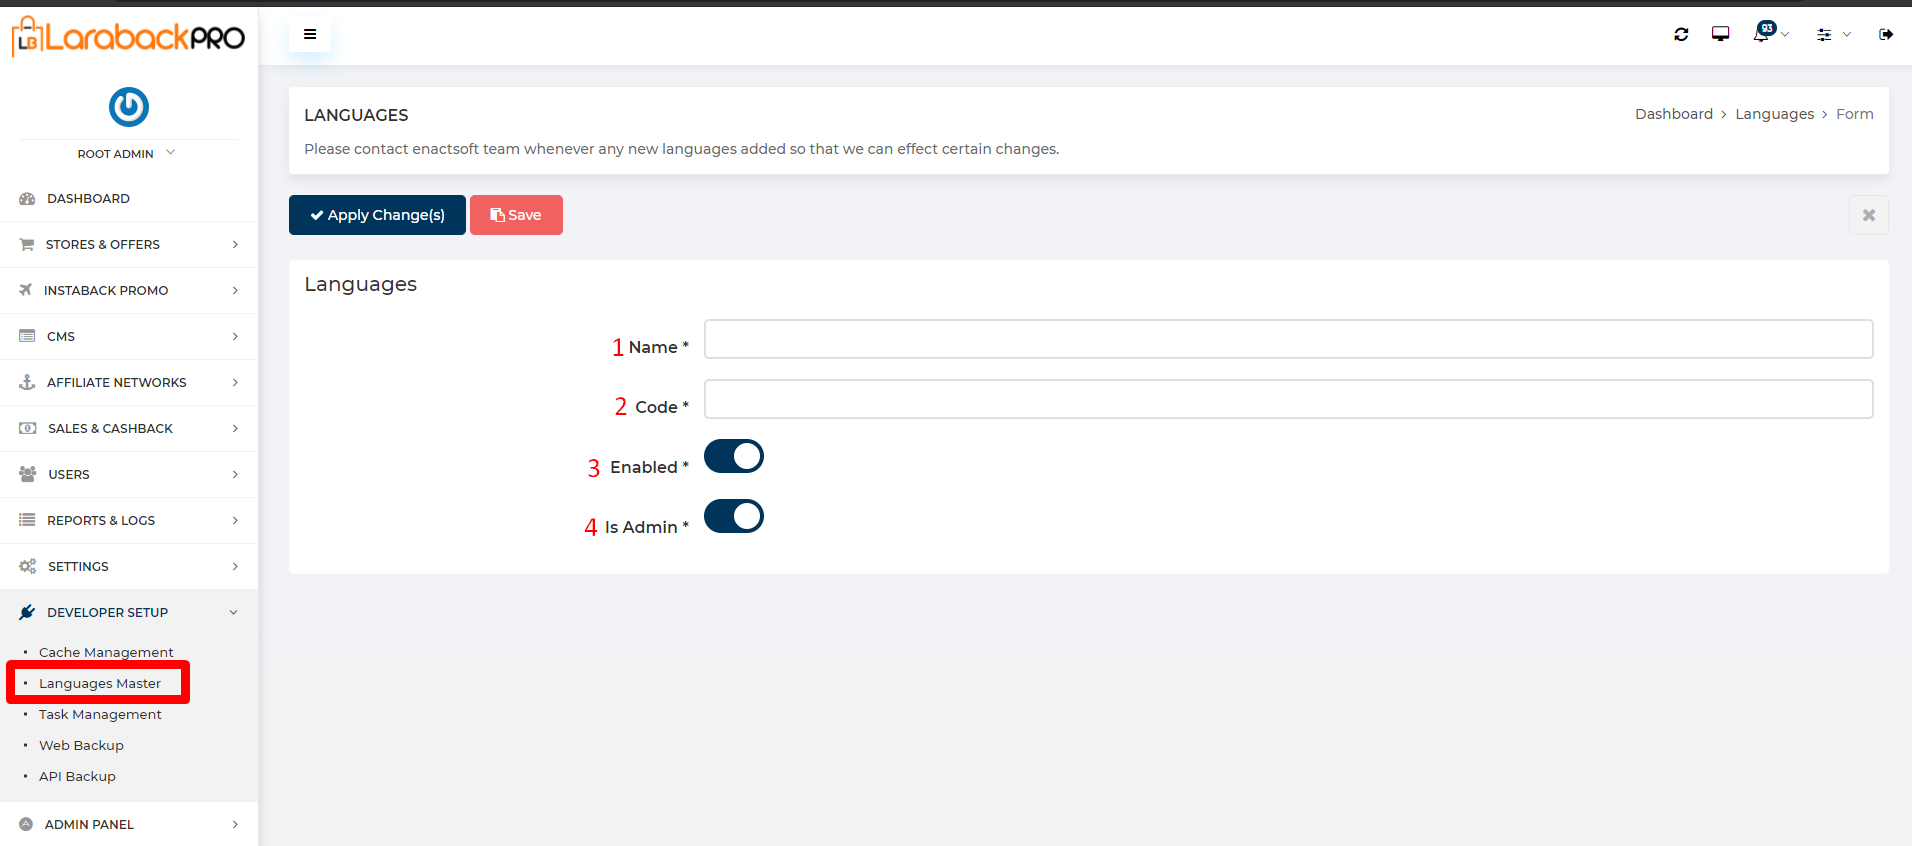
- Add the Name of the language.
- Add ISO language code, it must be 2 characters and in a small case, i.e. en, hi, de, etc.
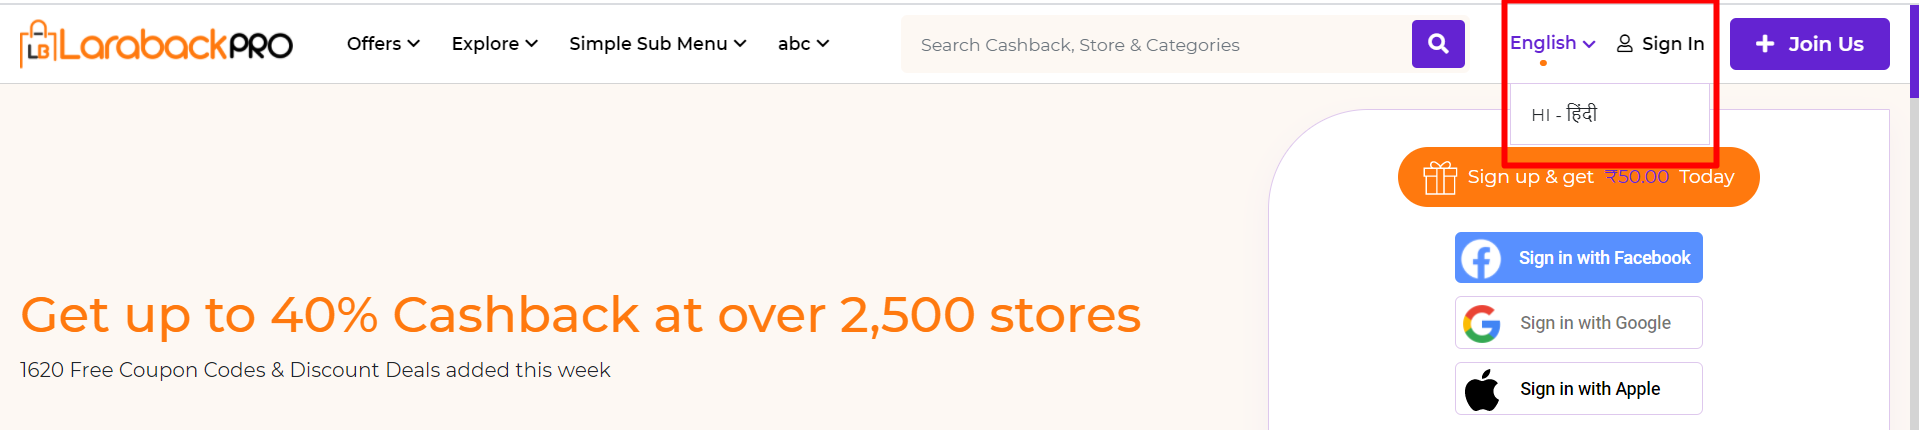
- When Enabled is ON, it will show language switcher in front-end. If disabled, it will NOT show in the front-end.
- When Is Admin switch is ON, it shows the translatable fields in various forms for pages, stores, etc. When disabled, it will NOT show the field to translate in forms.
- Note:-Do not switch off the admin option for the English language, else, it will remove all English values from all labels.

- After adding the language the code of language is shown in translate to options. Click on that particular options.
- This will translate language from English to other languages and must have data already saved.
- We’ve used Free google translate API, hence, it’s not reliable to use system-generated translation. It is recommended to translate the label manually.
- Click on the language code that you have selected earlier. it would translate in the preferred language.


