Update website Logo and Favicon #
Visit WordPress Admin->Appearance->Theme Options->Site Logo.
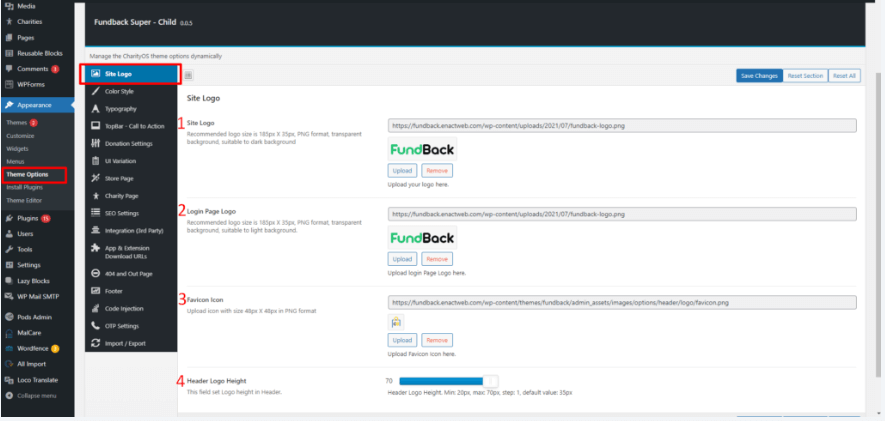
- Upload Site logo by choosing the file and the file must be an image in PNG format.
- Size: 185px X 60px
- Transparent background, suitable to the white background
- Upload the Login Page Logo by choosing the file and the file must be an image in PNG format
- Size: 185px X 60px.
- Transparent background, suitable to the dark background.
- Upload the Favicon by choosing the file and the file must be an image in PNG format.
- Size: 48 px X 48 px
- Transparent / another color background
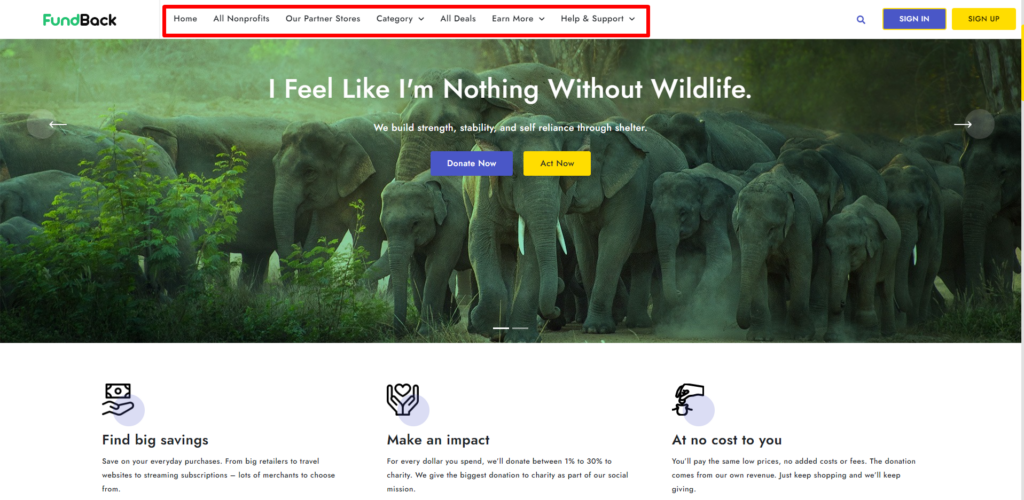
Configure Header Menu #
Main Menu Configuration: –
#
Generally, we provide a well-configured menu, please edit the existing menu so that it’s easy to manage.
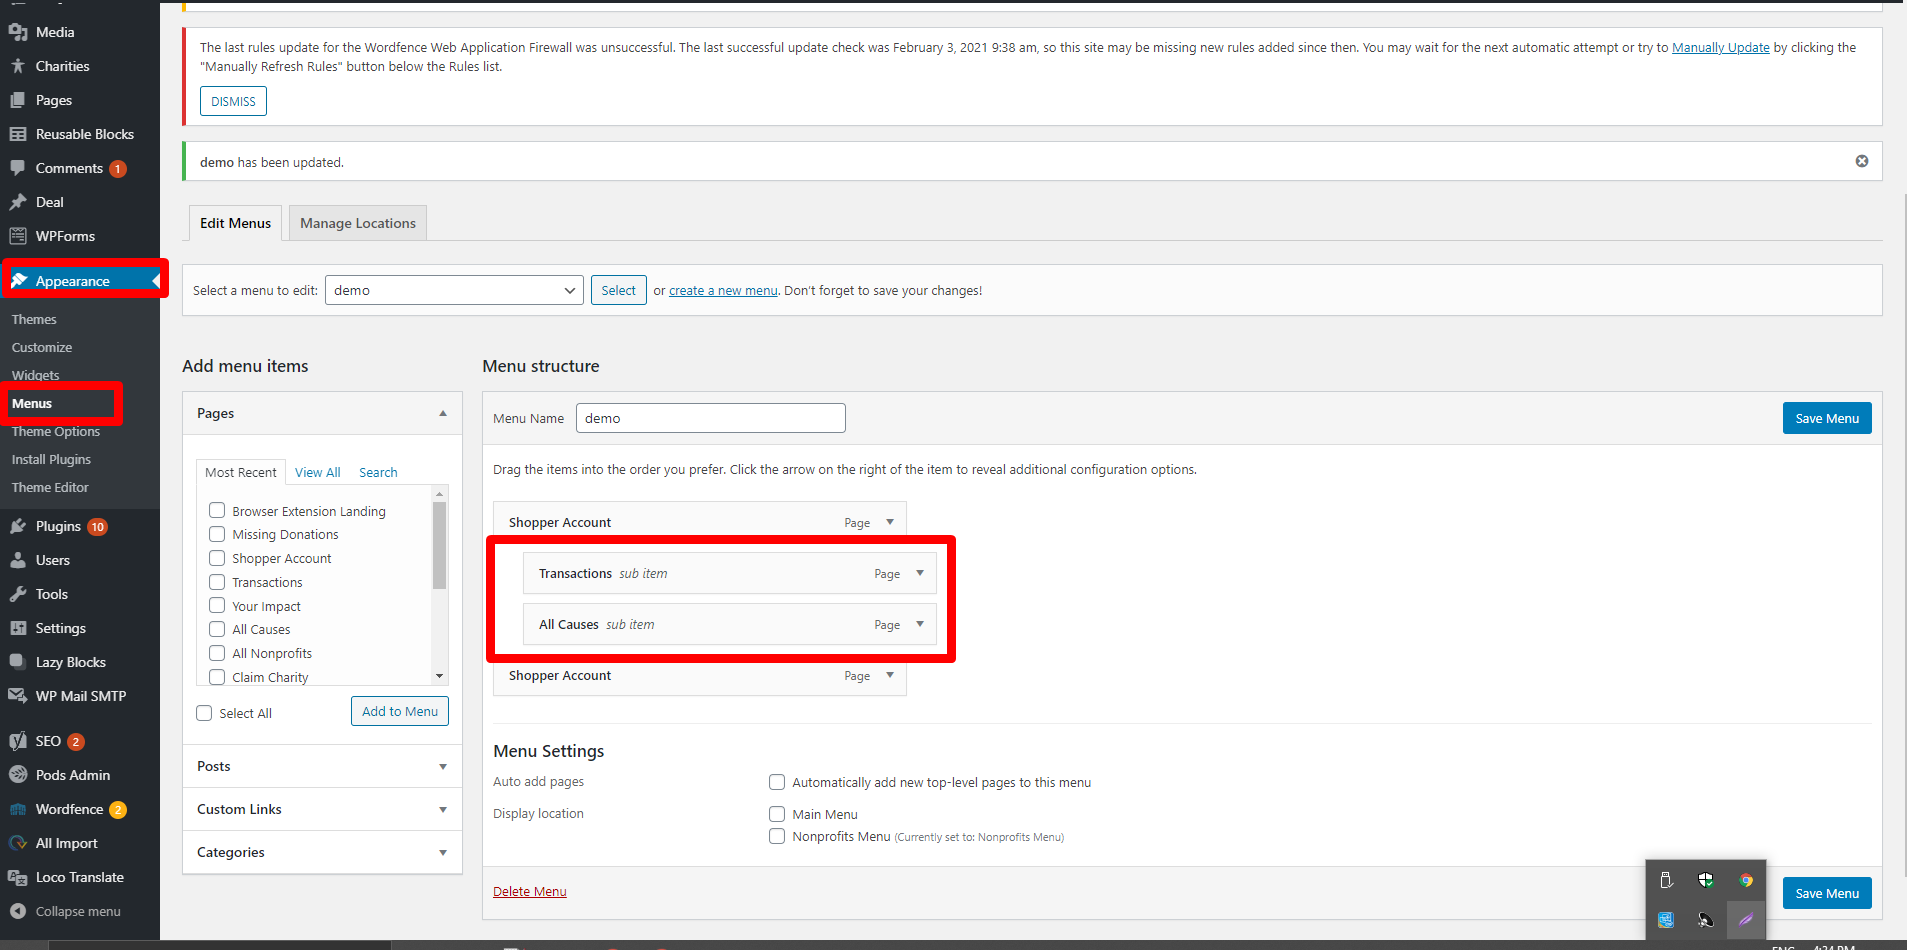
Visit WordPress Admin->Appearance->Menus.
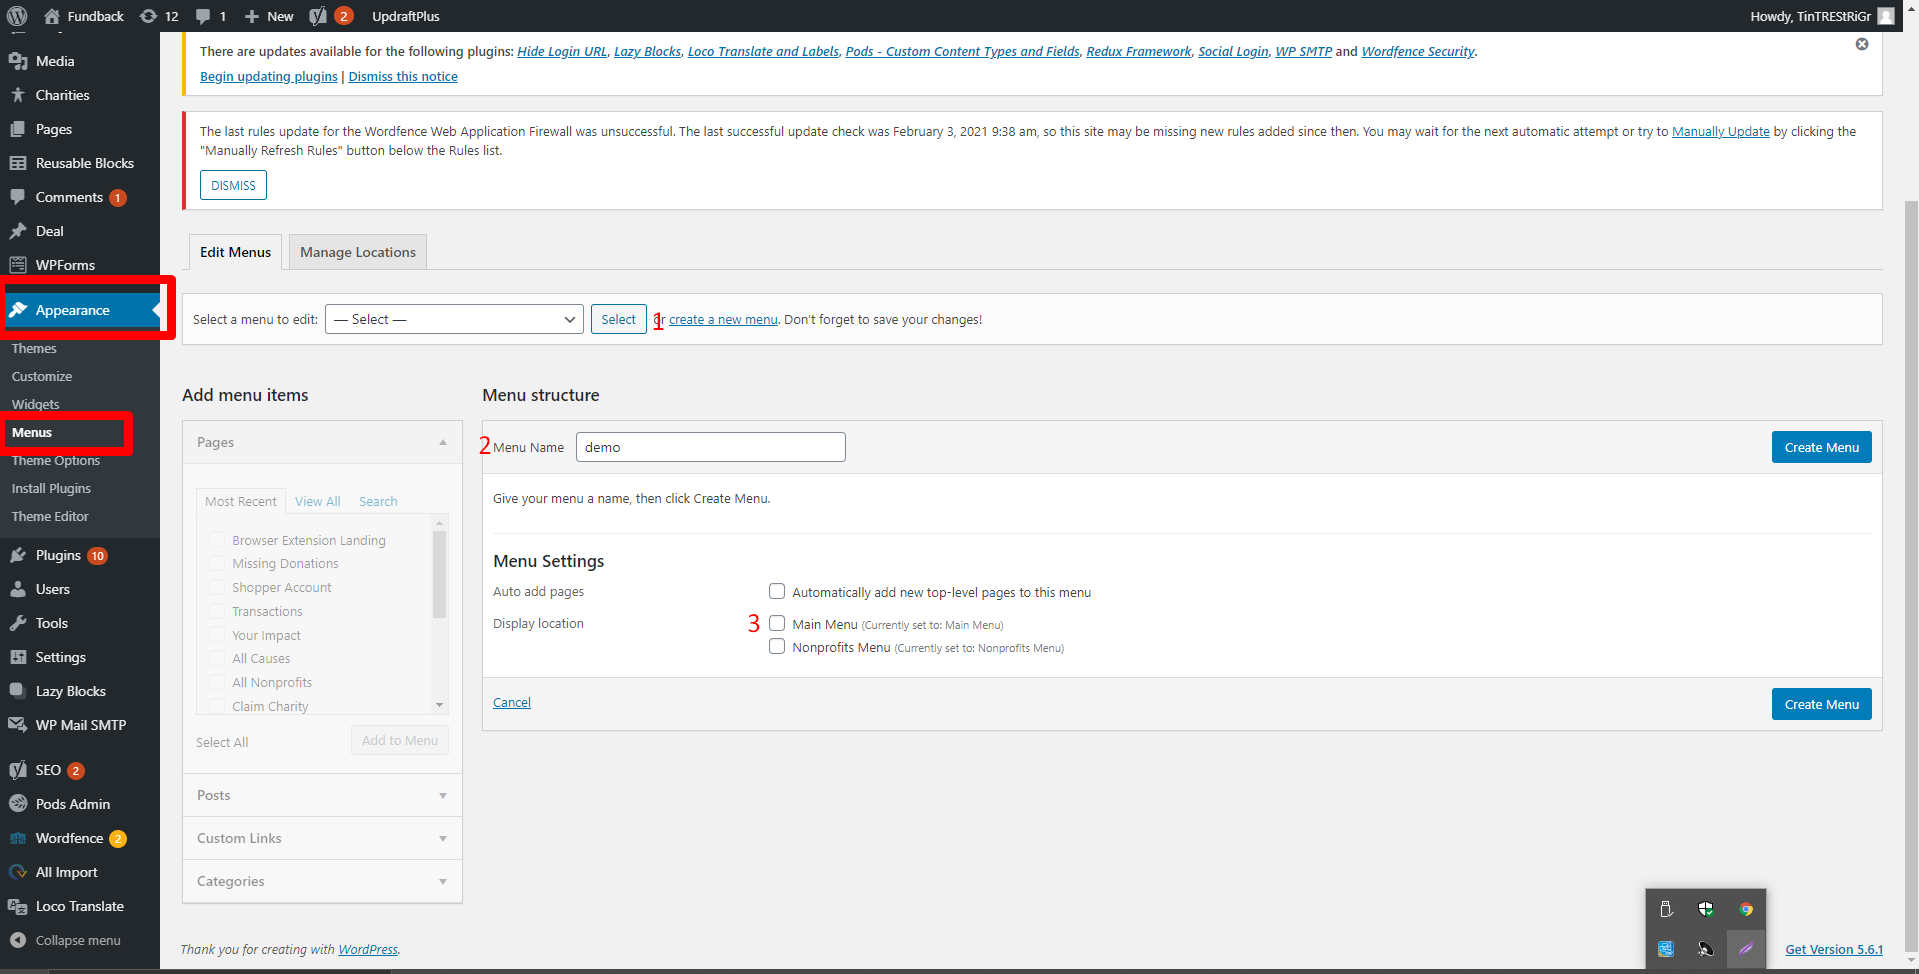
- Enter on the Create new Menu Link.
- enter the Name of the Menu.
- Tick on Main Menu option.

- Select Main Menu from the drop-down list.
- Create Custom Link, Stores, Store Categories, Coupon Category, Deals, Stores Category as per need.
Hint:- Here you can add multiple Custom Link, Stores, Store Categories, Coupon Category, Deals depend upon the need.
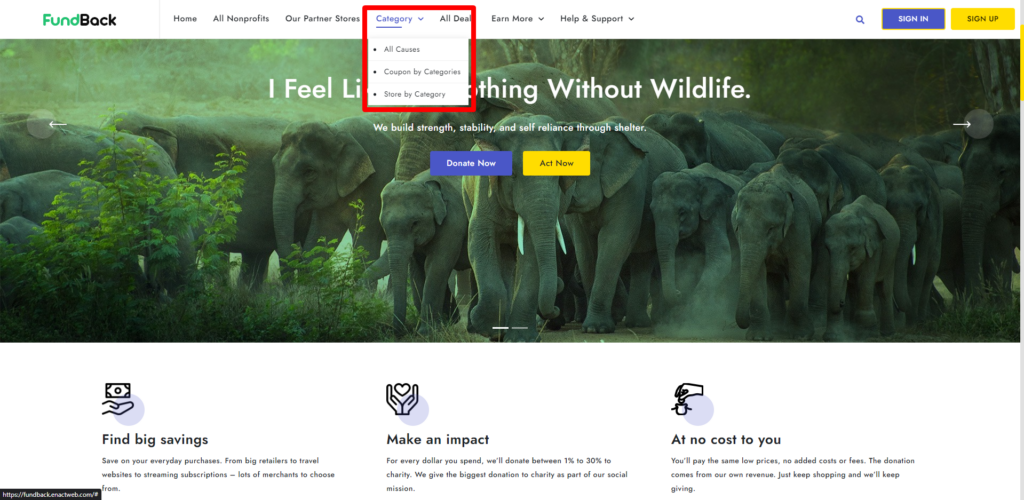
Plain Drop-down child menu configuration:-
#
Visit WordPress Admin->Appearance->Menus.

- Enter on the Create new Menu Link.
- enter the Name of the Menu.
- Tick on Main Menu option.

- Select Main Menu from the drop-down list.
- Create Custom Link, Stores, Store Categories, Coupon Category, Deals, Stores Category as per need.
Hint:- Here you can add multiple Custom Link, Stores, Store Categories, Coupon Category, Deals dependsupon the need.
- Drag and drop the specific menu and show the Child Menu.


